Running Nevermined in your local environment
All the functionalities of Nevermined are provided via the integration of different software components. To facilitate the creation of applications using the Nevermined capabilities in an easy way, we have deployed different environments with all these components. This makes easier for application developers and creators tu build their use cases without dealing with some of the DevOps complexities of running a fully functional Nevermined environment.
But in some ocassions, developers would need to have a fully functional Nevermined environment running in their local. This can accelerate application development and testing. The intention of this tutorial is showing how this can be possible.
Using Nevermined Tools
Nevermined Tools is an Open Source software created by Nevermined that allows running a complete Nevermined environment in the computer where is executed. It uses a combination of shell scripts and Docker containers to facilitate the easy deployment of the infrastructure.
All the Nevermined deployments use the same Docker containers that you run with Nevermined Tools. It means what you run locally is the same software we run in production.
Pre-requisites
To run Nevermined Tools you need to have the newest versions of:
- Linux or macOS. Windows is not currently supported. If you are on Windows, we recommend running the tools inside a Linux VM. Another option might be to use the Windows Subsystem for Linux (WSL).
- Docker
- Docker Compose
If you run macOS we recommend you read this section first.
Running a local instance
Once you have all the pre-requisites installed, the first thing we need to do is download the software.
$ git clone https://github.com/nevermined-io/tools.git
If you don't have a Git client, you can download the software from the following URL and unpack in the folder you want:
https://github.com/nevermined-io/tools/archive/refs/heads/master.zip
Once Nevermined Tools is downloaded (and unpacked) you can go to the folder with the software and run it without any parameters. The following command will run the main components of a Nevermined deployment:
- A local Ethereum node using Geth with the Nevermined Smart Contracts deployed on it
- An instance of the Marketplace API allowing to register assets Metadata
- An instance of the Node giving access to off-chain data and services
- An instance of a Faucet that can be used to get some ETH in the local network
- An instance of a SubGraph node indexing all the events emitted by the Smart Contracts and exposing them via GraphQL
$ cd tools
$ ./start_nevermined.sh
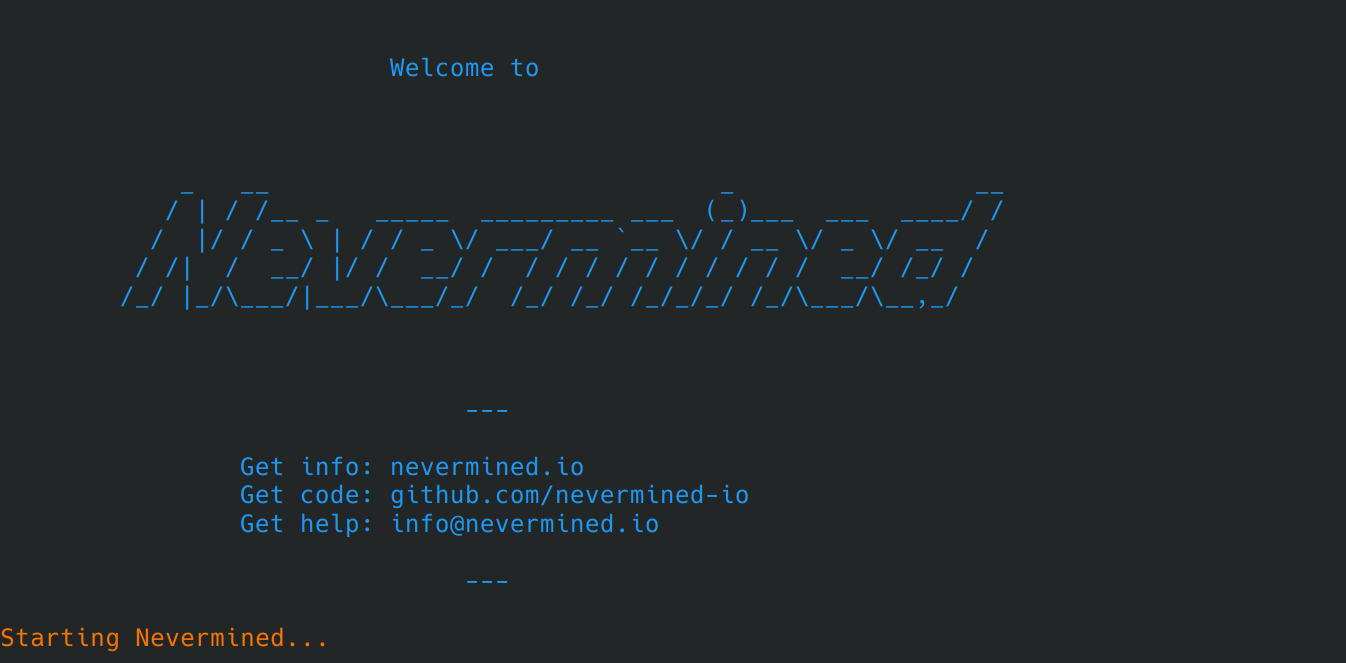
After running the command you should see something like this:

The first time you run Nevermined locally it could require a few minutes to download all the Docker images and run everything locally. Please, be patient.
After a few minutes you can run the following command to check that all the Contracts were deployed and Nevermined is ready:
$ ./scripts/wait-nevermined.sh

Using conf dir: /home/aitor/.nevermined

◯ Waiting for contracts to be generated...
✔ Found new contract artifacts.
[...]
✔ Copied new contract artifacts and circuits.
✔ Nevermined is up and runnning !!!.
You can use the --latest option to pull the most recent Docker images for all components, which are always tagged as
latest in Docker. The latest Docker image tag derives from the default main branch of the component's Git repo.